
***This post contains affiliate links, which means that if you decided to make a purchase through the link I will make a small commission at no cost to you.***
In these times when we are not allowed to go outside to get any pampering done I’ve had to learn how to do my own gel manicure at home.
I love being able to do this for myself while learning a new skills.
Recently I saw a video about doing your own gel manicure at home.
This was intriguing, so I decided to look up the prices of the items and see if it was worth it to try.
Spending close to $100 every time I went to the nail salon was just too much to spend for nails that lasted 2-3 weeks.
I had stopped going for a while and when I saw that you could do it on your own I was so ready to try.
PIN THIS FOR LATER
What Supplies do I need?
There are some supplies that you may already have like a nail file or nail clipper. But here is a list of all the supplies you will need:
- Nail Clippers
- Nail File
- Cuticle Clipper
- Cuticle Oil
- Nail Buffer (Block)
- Rubbing Alcohol or Alcohol Pads
- Cotton Pads
- Gel Nail Polish Remover – Arishine Magic Nail Polish Remover
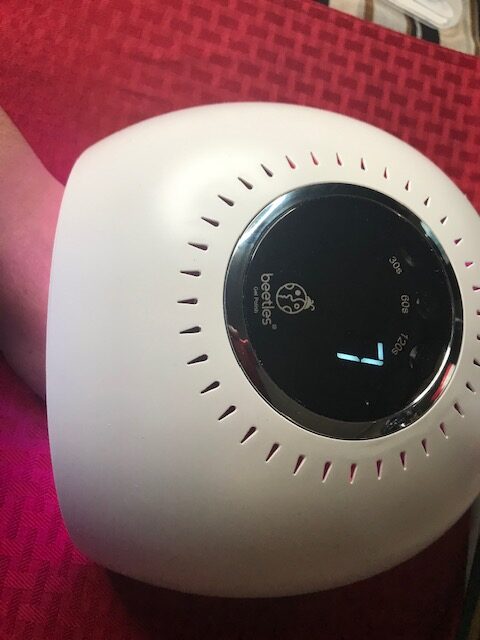
- UV/LED Nail Lamp – Beetles Gel Nail Polish UV LED Nail Lamp
- Nail Polish (Base/Top Coat) – Beetles 2 Pc Gel Top Coat/ Base Coat
- Beetles Nail Polish (Colors) – Nude Colors and Bright Colors
- Nail Scrapper
If you don’t to purchase each tool individually to complete the manicure here are a couple of sets that can help:
Or if you want to purchase the whole set with manicure set & gel tools & polish:
So now that we have all the supplies what do we do?
Step One – Removing Old Gel Polish
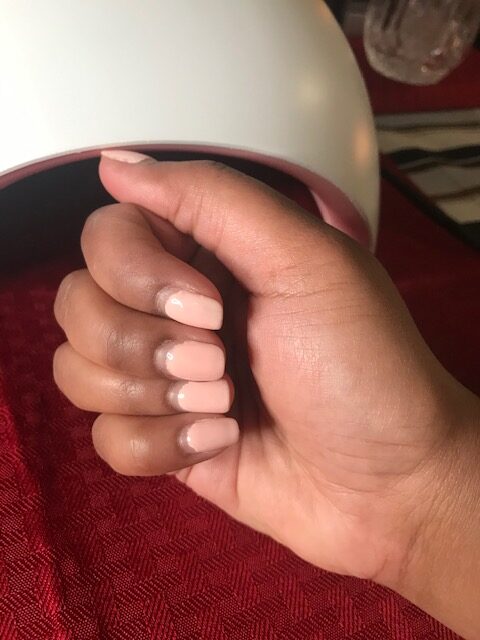
If you have gel nail polish on from before you have to remove this before you can begin the process.
So how do we do this? Well I found a polish that you can paint on your nails and leave for a couple of minutes.
Then scrap it off; this way is easier than soaking in acetone for a while.
I found this from an influencer that I was watching on YouTube.
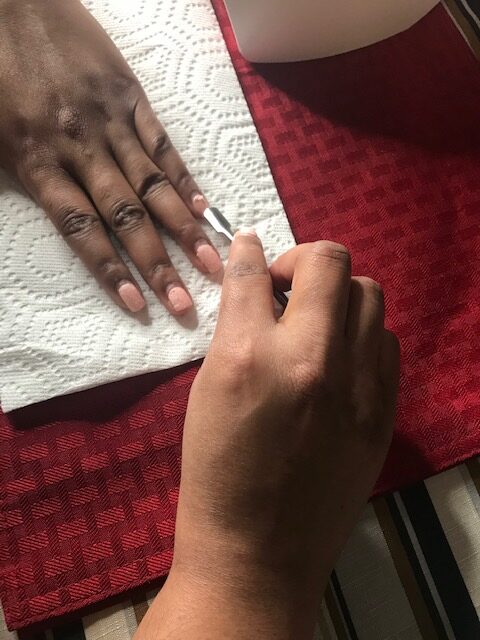
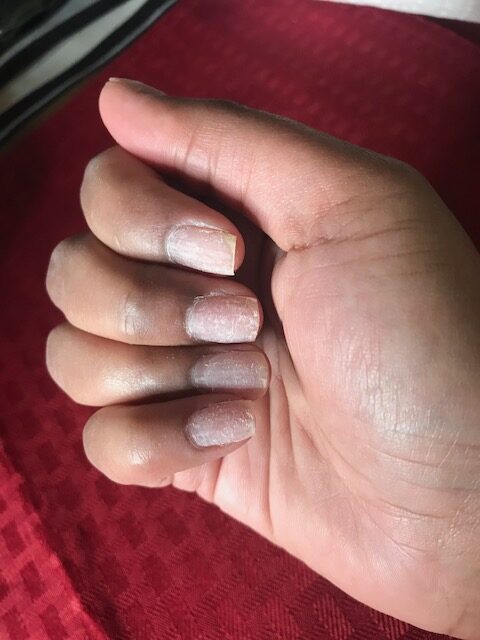
The Arishine Magic Nail Polish Remover is really easy to use all you have to do is file the top layer of you nails a little, add the polish and wait for two minutes.
Once it has time to work all you have to do is scrap it off with the tool.
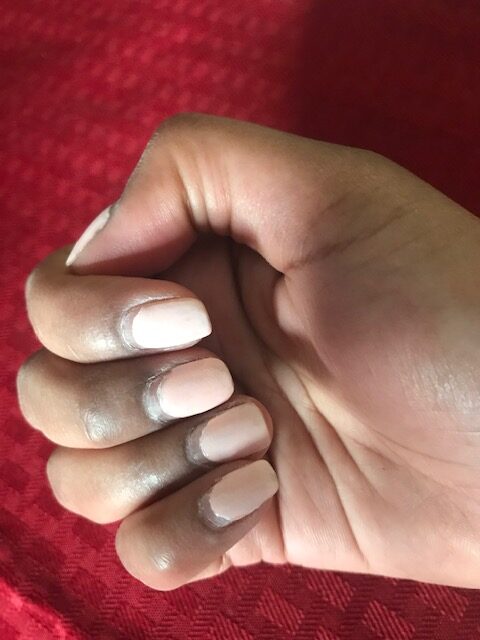
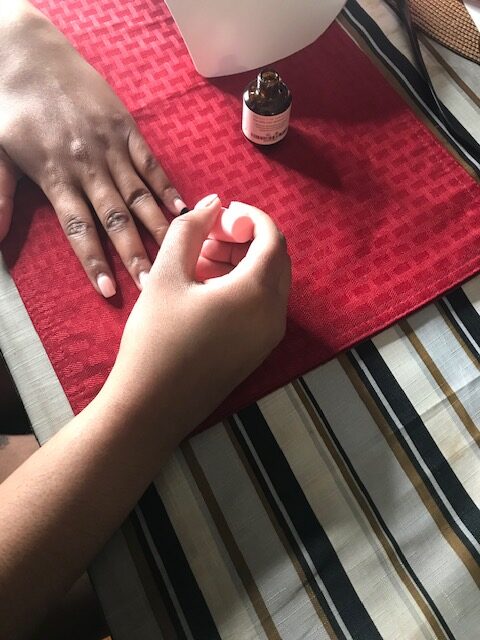
2 minutes later…
Step 2: Manicure
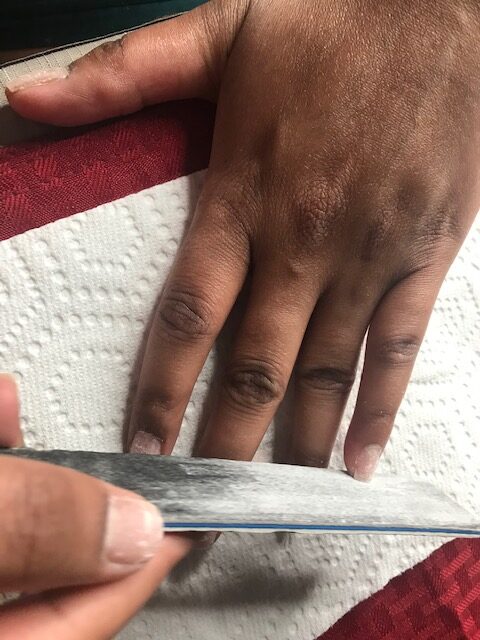
Here you file you nail into the shape that you want, I usually go with square. That’s been my go to forever.
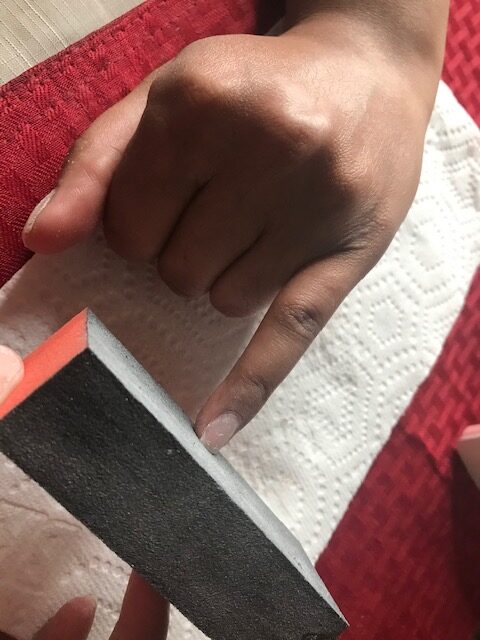
After filing, you use the nail buff block to smooth out the tops of your nails and the edges so they are no longer sharp.
Then soak each hand for a couple of minutes to soften the cuticle, once you take nails out of the water dry and add cuticle oil.
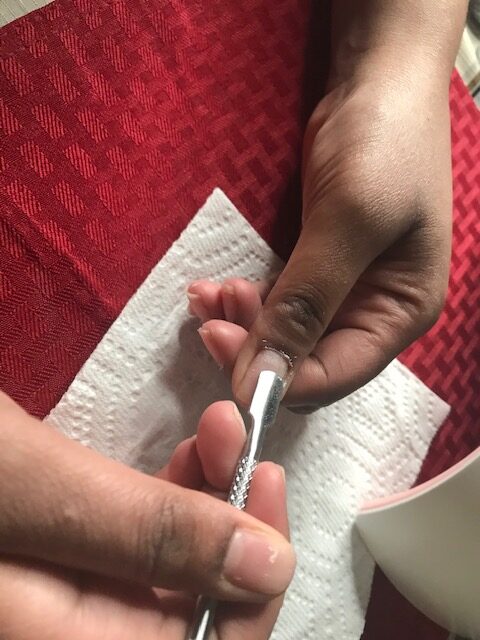
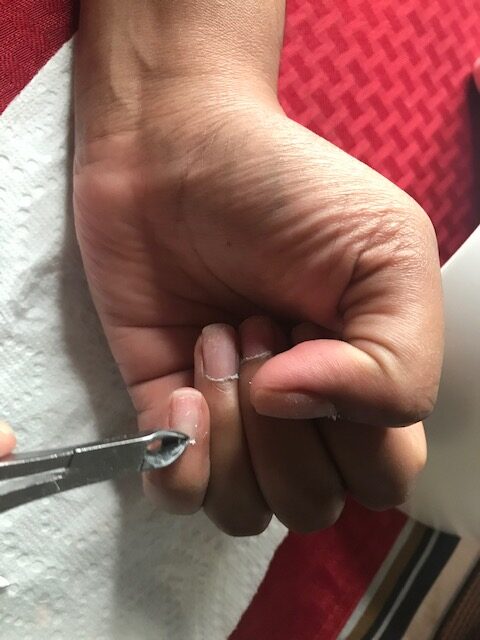
Then you start to push your cuticles up with the scraper.
Once the cuticles are pushed up use the cuticle clipper to clip your cuticles and any excess that your nails may have on it.
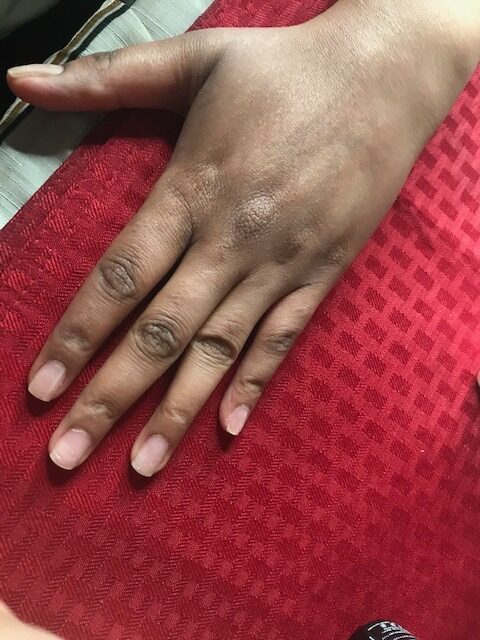
When you complete all 10 nails use the buff block again to make sure all nails remain smooth.
Now you can either wipe your nails down with a wet paper towel or you can wash your hands.
Step 3: Preparing The Gel Nail Polish
When using gel nail polish I like to let the bottle sit in hot water for a 1 or so to thin out the polish.
Gel nail polish is usually very thick and may make application difficult.
By heating it up a little you use less and apply it way better.
So before using each color or base/top coat I make sure it’s warmed up.
Other Posts:
How To Do A Facial At Home For Acne Prone Skin
6 Ways To Practice Selfcare On Sundays
DIY Hot Oil Treatments To Grow Your Hair Long
Step 4: Applying The Gel Nail Polish
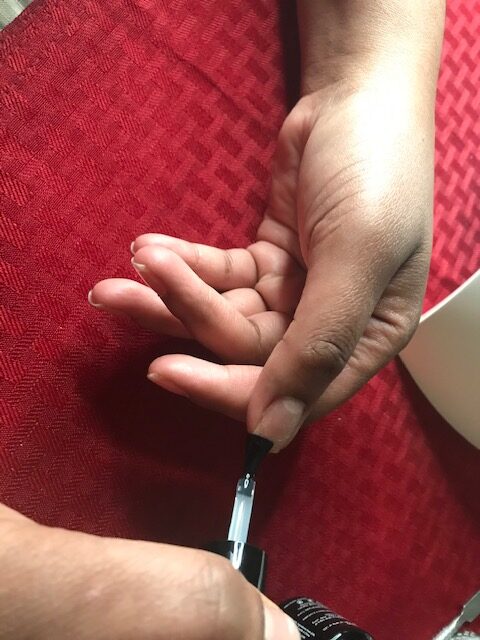
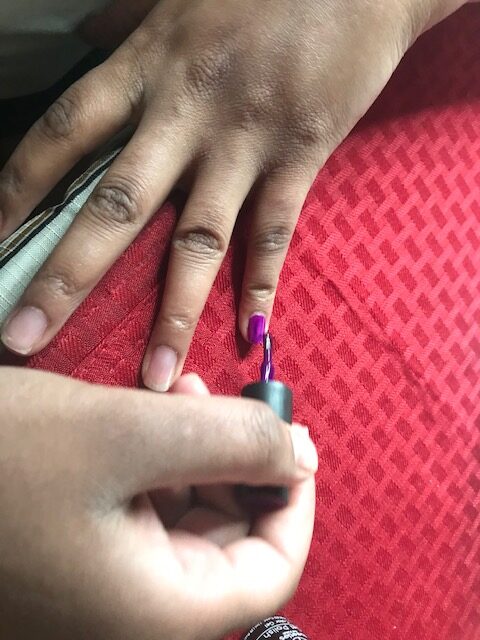
Once the polish is ready I start with the base coat, I apply to one hand at a time. After that I let it sit under the UV lamp for 60 seconds (machine has timing).
Now based on the polish you buy these instructions for the time may be different.
Once the base coat is on both hands and has been cured (under the lamp for a time period) we move on to the color.
I am usually warming up the next polish before I finish with the previous one. This way all the polishes are warm but the time I’m ready to use them.
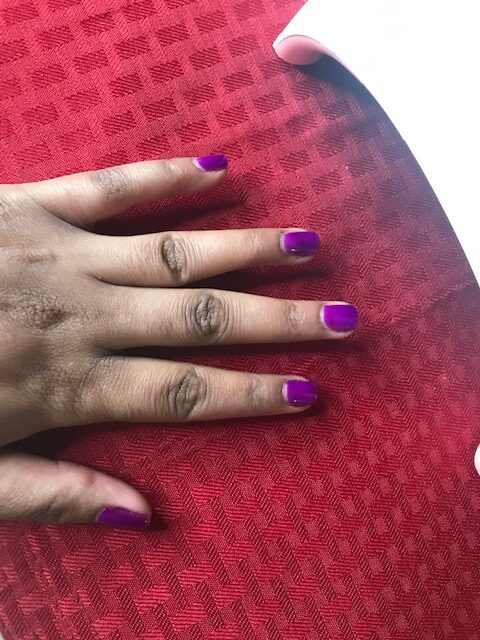
I applied this the same way I did the base coat, one had at a time and left it under the UV lamp for 60 seconds. Two coats of the colored polish was good enough for me.
When you use too much polish, it tends to start peeling or chipping a lot faster.
Then I applied the top coat of nail polish the same way.
One hand at a time but this time I left each hand under the lamp for 120 seconds.
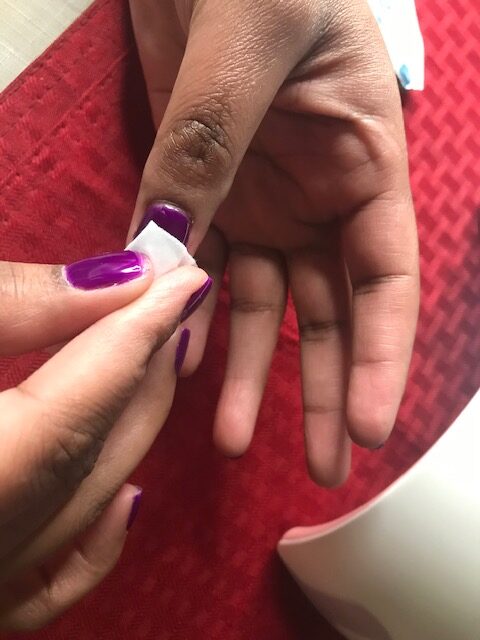
When both hands are complete, you can use an alcohol pad or rubbing alcohol with a cotton pad and gently wipe each nail.
And that’s it your done!
How Long Does It Last
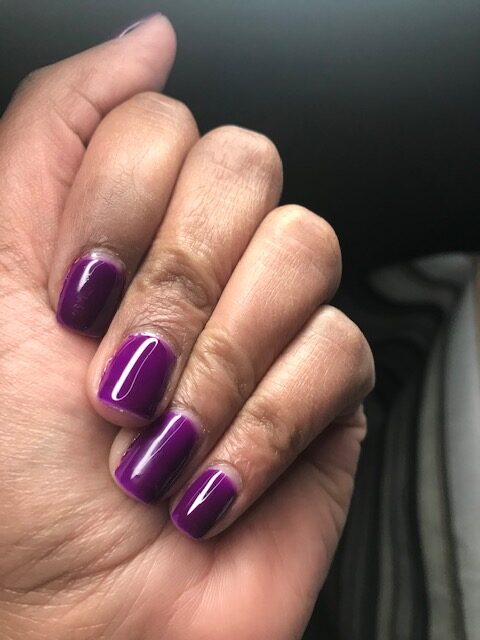
This polish is really great because it last for a full two weeks with no chipping. I did dishes everyday more than one time a day and it was still perfect.
It could have lasted longer but I get bored quickly sometimes, so I wanted to change the color.
Right now I’m going on three weeks with this new color. Its absolutely amazing how long and how well this polish lasted.
Benefits Of Doing Your Own Gel Manicure
There are many benefits of doing your gel manicure at home, first it save you so much money.
The products may cost a little more in the beginning because you’re buying everything.
But in the long run you’ll be spending so much less.
It also saves you that horrendous salon wait time. This was your not stuck at the salon waiting for a nail technician for an hour or more.
And you’re pampering yourself in your own home so your comfortable.
This is alone is enough for me, I hate having to wait in the salon when I could be spending that time doing something more productive.
Another great thing about this is that I can look for the products that I want to put on my nails.
I can look for cleaner versions of the products that they use at the salon.
The Beetle Gel Nail Polish are low smell, 9 toxin free gel and not harmful to the skin.
And the benefit I like the most is that you can do your toes without any extra costs. Usually when I go to the salon, pedicures with gel nail polish are more expensive.
Would I continue to do this?
I will absolutely continue to do this if it saves me time, money and a trip to the salon that I probably didn’t want to take.
Especially in these times when the salons are not open and we cant get our nails done as were use to we can do it ourselves.
Final Thoughts
I am so happy that I found these products and realized that I can do my own gel manicure at home.
I will continue to use these products for now.
Let me know if the comments below if you have tried to do your own manicures or gel manicures at home and will you continue to do so?

Yvette
First of all… LOVE the purple. Second, you make it look so easy. Thanks for the step by step instructions. I’m going to give it a try!
Michelle
I love how you break down all the steps! I am going to try this. I spend a lot at the nail salon so I will save so much money! Thanks for this post!
Hawte Style
MichelleLOL me too! Your welcome!
Erin
You make this look so easy! I’ve got to try this!
Hawte Style
ErinIt was difficult when I got to my right hand LOL!
Cindy
I love your color choices. There was a time I went to the salon very dutifully each week or two. Now, I have given it up due to time and expense. I tried for a while to do it myself but that left hand of mine is so uncoordinated it is awful! LOL!
Hawte Style
CindyIt is very time consuming and expensive! LOL I had to practice a lot!
Erin
Well done! I love when we have a chance to learn something new. And this saves so much money. Great job!!
Hawte Style
ErinThank you so much!
Melissa| It's a Joyous Journey
I almost got my daughter one of the gel nail kits for Christmas last year. I think we need to go ahead and get one to try it out this summer! Thanks for sharing!
Hawte Style
Melissa| It’s a Joyous JourneyIt’s definitely worth the investment! Your welcome!
Roselyn Franke
Good article – your instructions were clear and the pictures demonstrate exactly step by step how to prepare the nails and apply the gel.
Hawte Style
Roselyn FrankeThank you!
Shirley
I used to wear artificial nails about 10 years ago, but have had natural nails ever since. Your nails look fantastic so I would give the at-home gel manicure a try at least once.
Hawte Style
ShirleyThank you so much!
Emily
I have never had a gel mani. I don’t think I can do this! LOL Maybe someday after my 4 kids are out of the house haha
Hawte Style
EmilyLOL, I bet they keep you busy 🙂
Barbara
You are so brave to try this on yourself! I’m sure I do not have the patience or ability to accomplish this! Great job!
Leeandra
BarbaraThank you!
judean
Great job! I don’t think I would have the patience to do that!
Leeandra
judeanThank you!
Tonya | the Writer Mom
Wow, beautiful! This is a really detailed guide. I don’t really do my nails, but did get gel done once in a salon. I really liked how it looked.
Leeandra
Tonya | the Writer MomThank you! I love gel manicures!
Allison
This is awesome!! I’ve been wanting to start doing my own nails at home for the convenience (and to save money LOL). Only thing I’d struggle with is having to do my right hand ?
Leeandra
AllisonLol I struggled too! I’ve been practicing and getting better though 🙂
Amber Page
I love how these steps are so clear! I would love to be able to do my nails myself. Thank you for sharing!
Amber – Theunpredicted page
Leeandra
Amber PageThank you!
Eva Keller
I would love to give this a try! I used to get my nails done somewhat frequently just because they looked better for work but now that I am self employed and working from home I hardly ever do my nails anymore. I love to paint my nails though on my “self care days”.
Leeandra
Eva KellerThats awesome! Its great to try 🙂
Kristina
You do your nails so well! i’m so jealous! I’m pretty hopeless with my left hand, not gonna lie haha
Leeandra
KristinaThank you so much 🙂 LOL I had to practice a lot!
Tara
Very thorough and detailed information! You really know what you’re doing here; thank you!
Leeandra
TaraThank you so much!